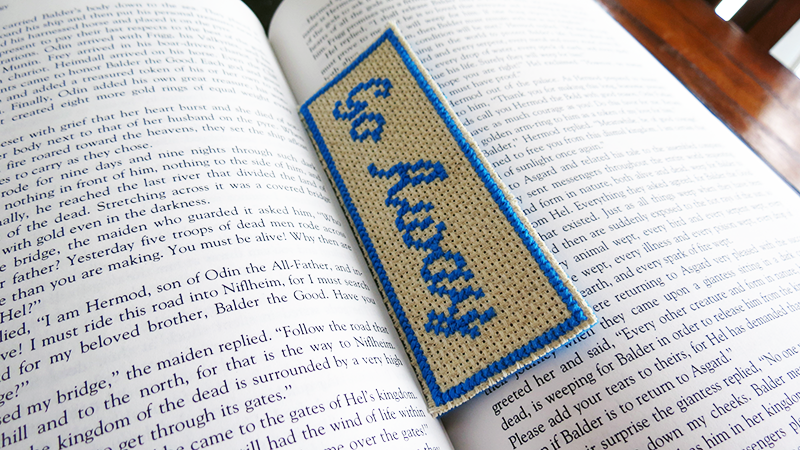
This sassy little bookmark was made to express my feelings without having to lift my nose from my book.
I was going through a few old cross stitch projects yesterday and I ran across a piece of Aida that would be perfect for a small bookmark. I decided to go with something sassy and simple that would be easy enough to knock out in an hour or two.
"Go Away" Bookmark Tutorial:
References and materials:- http://www.stitchpoint.com/eng/tool/alph/cross-stitch-writing-tool.php
- Aida scrap.
- Thread color of your choice.
- Felt
- Spray Mount
- Cereal box cardboard.
- Ruler
Instructions:
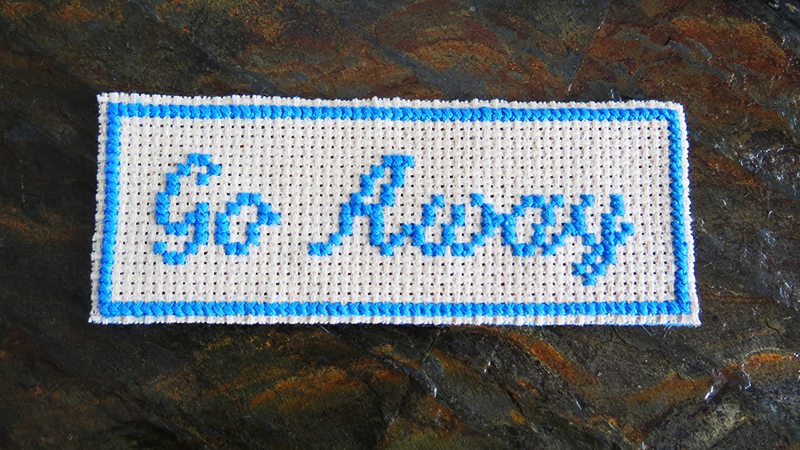
1. Begin by generating a phrase of your choice using the reference above. I personally prefer the "Madrid" font.
2. Cut out a long piece of Aida that would have enough space to extend 4 spaces above/below and along the sides. Make sure you have enough room for the border of your choice! Since I was using a piece of scrap Aida, I only had enough room for a simple border.
3. Begin stitching your phrase making sure all the stitches face the same way. Don't worry about the back as you will cover this later with the felt. Keep the knots small and simple to prevent buckling when assembling the bookmark.
4. Continue onto the border, once again making sure all your stitches face the same way.
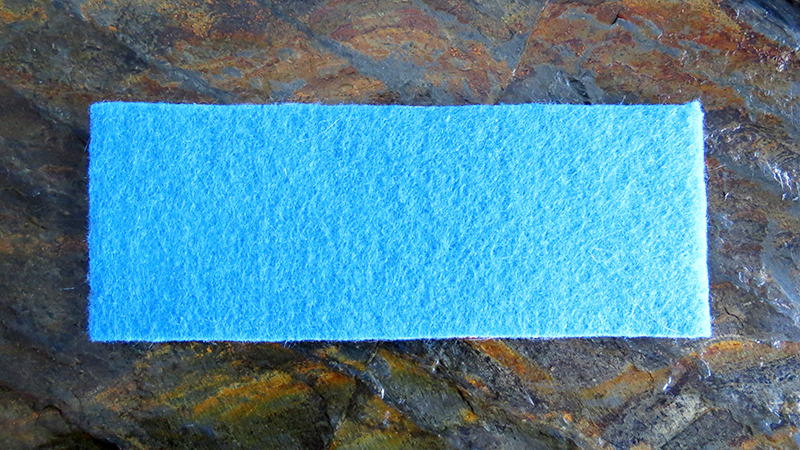
5. Measure the length and width of your completed design and cut out a slightly smaller piece of cardboard from a cereal box.
6. Spray the piece of cardboard with spray mount and press it against a piece of felt that matches the color of your design. Place a heavy object to encourage the felt and cardboard to dry flat.
7. Spray the opposite side of the cardboard (the one without felt) and press it firmly against the Aida. Once again, flatten the bookmark.
8. Once dry, cut along the edges.
If you'd like to give the bookmark a decorative ribbon extending from the edge, simply place it on the piece of cardboard after spraying it with spray mount.
"Go Away" Bookmark Tutorial:
References and materials:- http://www.stitchpoint.com/eng/tool/alph/cross-stitch-writing-tool.php
- Aida scrap.
- Thread color of your choice.
- Felt
- Spray Mount
- Cereal box cardboard.
- Ruler
Instructions:
1. Begin by generating a phrase of your choice using the reference above. I personally prefer the "Madrid" font.
2. Cut out a long piece of Aida that would have enough space to extend 4 spaces above/below and along the sides. Make sure you have enough room for the border of your choice! Since I was using a piece of scrap Aida, I only had enough room for a simple border.
3. Begin stitching your phrase making sure all the stitches face the same way. Don't worry about the back as you will cover this later with the felt. Keep the knots small and simple to prevent buckling when assembling the bookmark.
4. Continue onto the border, once again making sure all your stitches face the same way.
5. Measure the length and width of your completed design and cut out a slightly smaller piece of cardboard from a cereal box.
6. Spray the piece of cardboard with spray mount and press it against a piece of felt that matches the color of your design. Place a heavy object to encourage the felt and cardboard to dry flat.
7. Spray the opposite side of the cardboard (the one without felt) and press it firmly against the Aida. Once again, flatten the bookmark.
8. Once dry, cut along the edges.
If you'd like to give the bookmark a decorative ribbon extending from the edge, simply place it on the piece of cardboard after spraying it with spray mount.


 RSS Feed