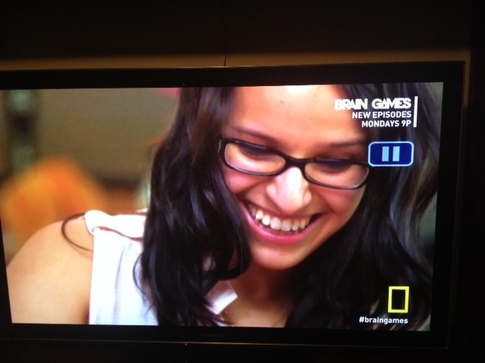
Guess who was on tonight's Brain Games episode?! That's right, me! :D
|
|
|
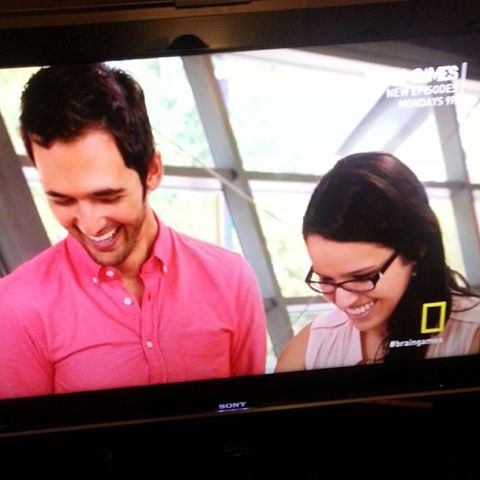
Guess who was on tonight's Brain Games episode?! That's right, me! :D
0 Comments
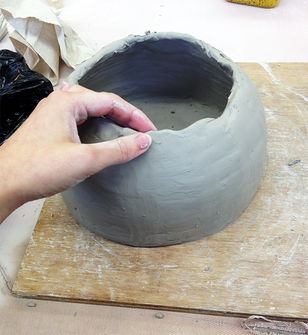 Ceramics is a mandatory course for most Art majors at my university, and unfortunately, I was wholly unaware of it until this semester. I wouldn't have been able to graduate in May if I wasn't informed, insane! Regardless, I'm finding myself slowly growing to the thought of a semester long ceramics class. Our first assignment is to create either a square flower cachepot or a coiled clay pot. Since I was more interested in creating an organic form, I went with the coiled clay pot project. We have complete artistic freedom for our piece, so I decided to create a "dome" flower pot with a medium sized circular opening. The picture shows part of the process where I was bending the top and smoothing out the sides to create a uniform look. I proceeded to add more clay and furthered closed the opening to prepare it for the final smoothing and strengthening process on Thursday. Our class will proceed to glazing next week, I can't wait to post the finished piece!
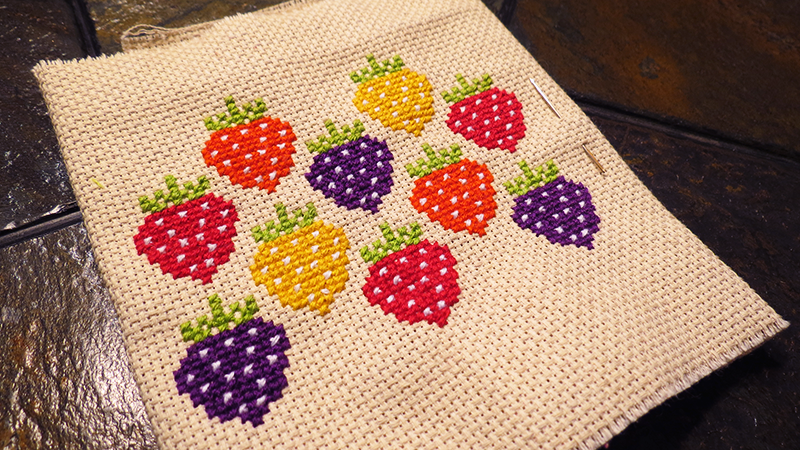
This week I worked on a cute strawberry cross stitch design that I found on SewNews.com during one on my nightly pattern searches. I plan on making the design into a small thread pouch that I can take with me to my weekly trips to WestConn (ziplock bags are just HORRIBLE). I will admit that this took me far longer than I expected it to! 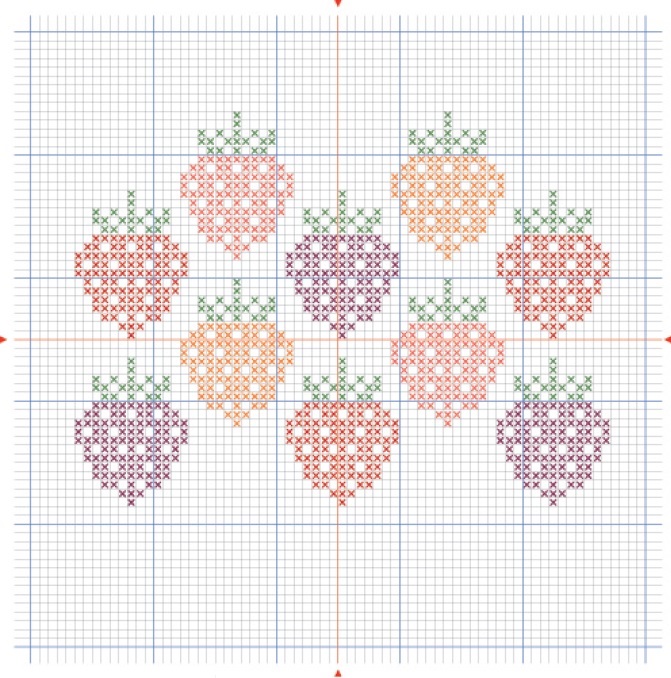
Credit: SewNews.com
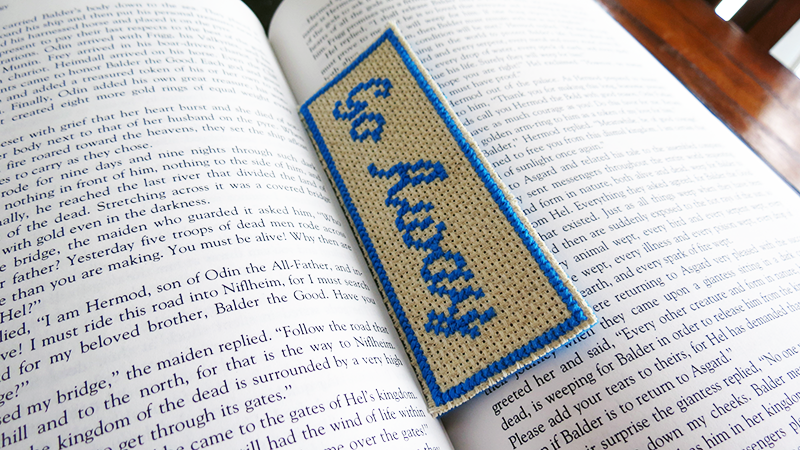 This sassy little bookmark was made to express my feelings without having to lift my nose from my book. I was going through a few old cross stitch projects yesterday and I ran across a piece of Aida that would be perfect for a small bookmark. I decided to go with something sassy and simple that would be easy enough to knock out in an hour or two. "Go Away" Bookmark Tutorial: References and materials:- http://www.stitchpoint.com/eng/tool/alph/cross-stitch-writing-tool.php - Aida scrap. - Thread color of your choice. - Felt - Spray Mount - Cereal box cardboard. - Ruler Instructions: 1. Begin by generating a phrase of your choice using the reference above. I personally prefer the "Madrid" font. 2. Cut out a long piece of Aida that would have enough space to extend 4 spaces above/below and along the sides. Make sure you have enough room for the border of your choice! Since I was using a piece of scrap Aida, I only had enough room for a simple border. 3. Begin stitching your phrase making sure all the stitches face the same way. Don't worry about the back as you will cover this later with the felt. Keep the knots small and simple to prevent buckling when assembling the bookmark. 4. Continue onto the border, once again making sure all your stitches face the same way. 5. Measure the length and width of your completed design and cut out a slightly smaller piece of cardboard from a cereal box. 6. Spray the piece of cardboard with spray mount and press it against a piece of felt that matches the color of your design. Place a heavy object to encourage the felt and cardboard to dry flat. 7. Spray the opposite side of the cardboard (the one without felt) and press it firmly against the Aida. Once again, flatten the bookmark. 8. Once dry, cut along the edges. If you'd like to give the bookmark a decorative ribbon extending from the edge, simply place it on the piece of cardboard after spraying it with spray mount. 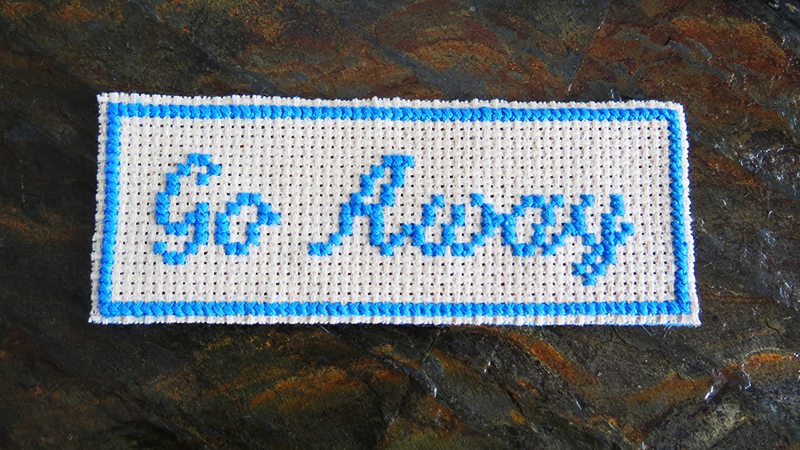  I've been very inspired by the Zakka movement lately and wish to spend some time this year focusing on practicing my sewing. It's one of things that I've always wished to improve, but with my university graduation right around the corner, it's been incredibly difficult to allocate some time towards my crafts. My mother, grandmother and I took a trip down to JoAnn Fabrics yesterday and nearly had a field day with all the sales currently going on. I purchased a handful of fabrics (shown below) to begin building my fabric collection, especially since anything craft related in New Zealand is INCREDIBLY pricey. 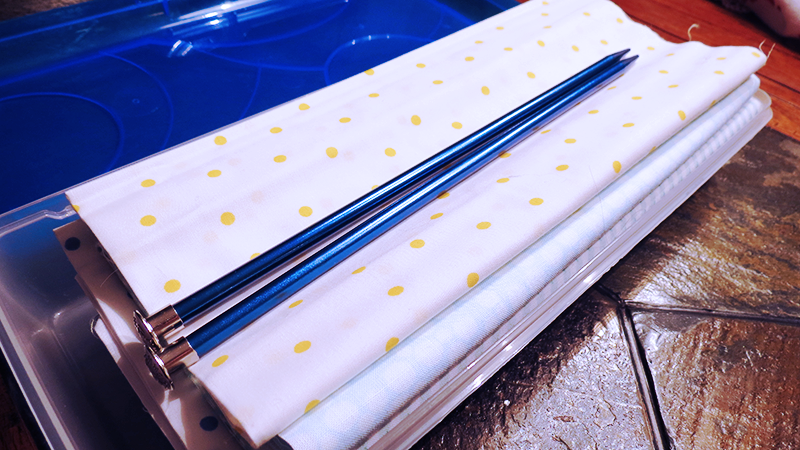
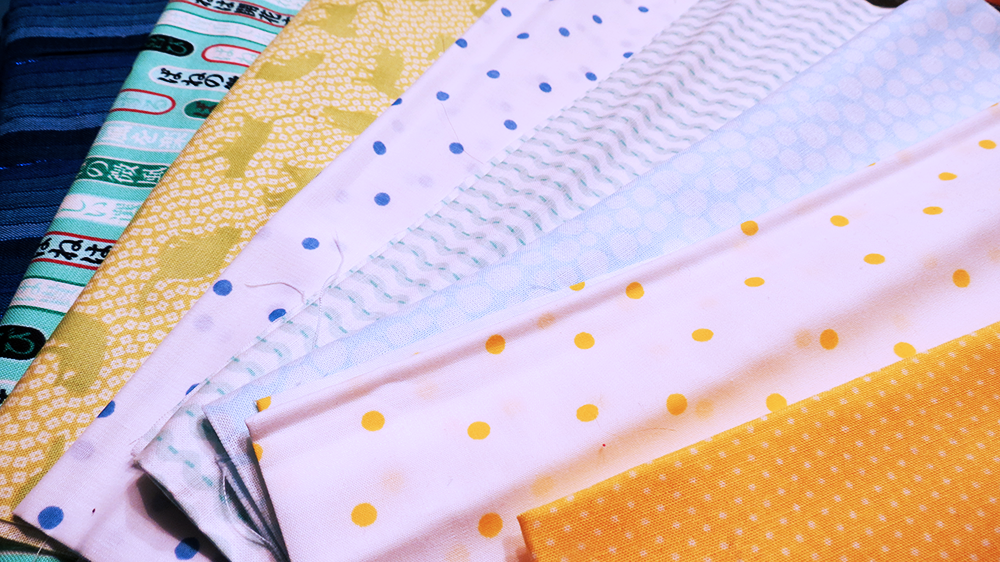
Pardon the stray cat hair!
For $20, I was able to escape with 6 fabric rolls, 2 new knitting needles and the blue container to hold it all in. The dark blue striped fabric above was found for $1 in Savers! Perfect condition and never used.
| 
NenssaIllustrator, Embroiderer, Crocheter, Knitter and Bibliophile.  ArchivesFebruary 2015 |
 RSS Feed